")
")
Dieser Artikel ist aktuell nur in english verfügbar.
Digitale Kunst in der realen Welt
"Digital Kunst is nicht Skulptur - war gestern. Ich suche die Limiten und Grenzen zwischen der digitalen und realen Welt"
1. An idea transferred into a digital model
 Creating 3Dprinted artpiece is first of all: A creative process from the initial idea to the final sculpture. This is the tough part! Once I have a initial raw idea of the future art piece, I start to 'construct' it in my mind, until I have a construction plan in my head. The real work start getting the idea to the digital twin (the 3D model on my computer). The digital twin is what I will 'print' it to make it a real-world object. During this process I apply different techniques and each artpiece results in different intermediate stages or new artworks. My focus is always on the final sculpture materialized in the real world, but additional works become independent new art works
- The materialized final sculpture
- Visualization in form of Art Prints
- Animations
- Meshes (mixing the different techniques and add additional media)
Last but not least, the Trend on NFT (Non Fungible Tokens) is just a new dimension moving the bar to a next level.
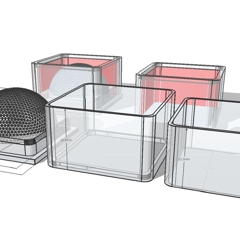
2. The digital twin (designing the model)
I need to establish the envisioned object in a 3D Model as a digital format. Abstract geometric artworks are usually less time-consuming, but organic forms, portraits and the human body, need more time and skills to sculpt the model (similar to sculpting a sculpture in clay).
Depending on the object there are different options to create the 3D model:
- CAD Software (usually used by architects/engineers, e.g. Sketch-Pro)
- Software for sculpting (Blender)
- 3D Software allowing you to 'script' the model (e.g. Blender, OpenScad)
- Painter/Photoshop for visualization purpose or creating 'path' for 3D models (e.g. hand-written text)
- Video Editor (create the final animation)
- Additional helper tools/methods (e.g. Python to speed up creation of an artwork with many parts)
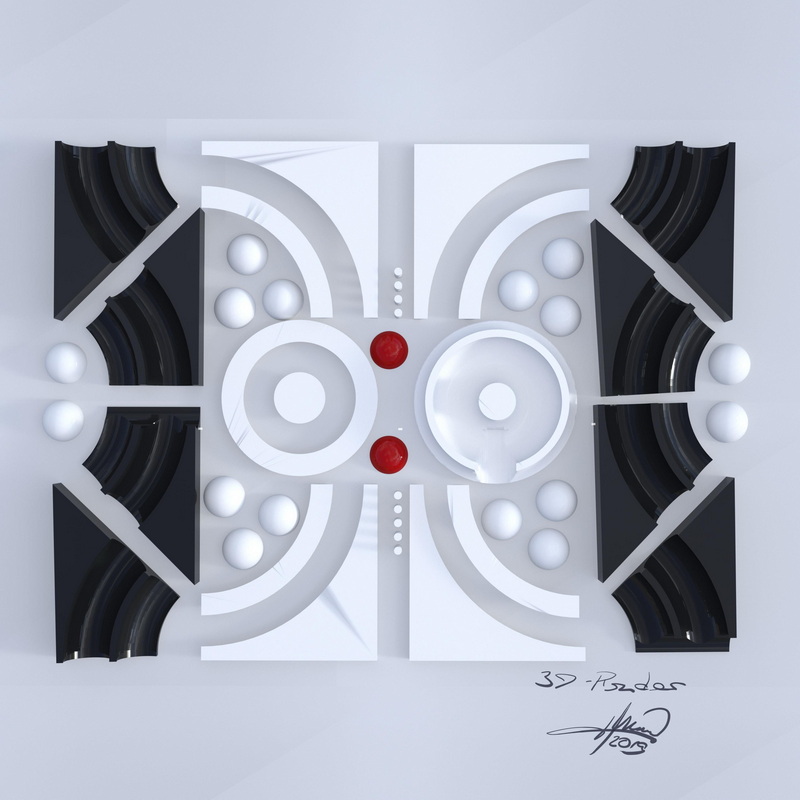
3. Visualize the result (Render)
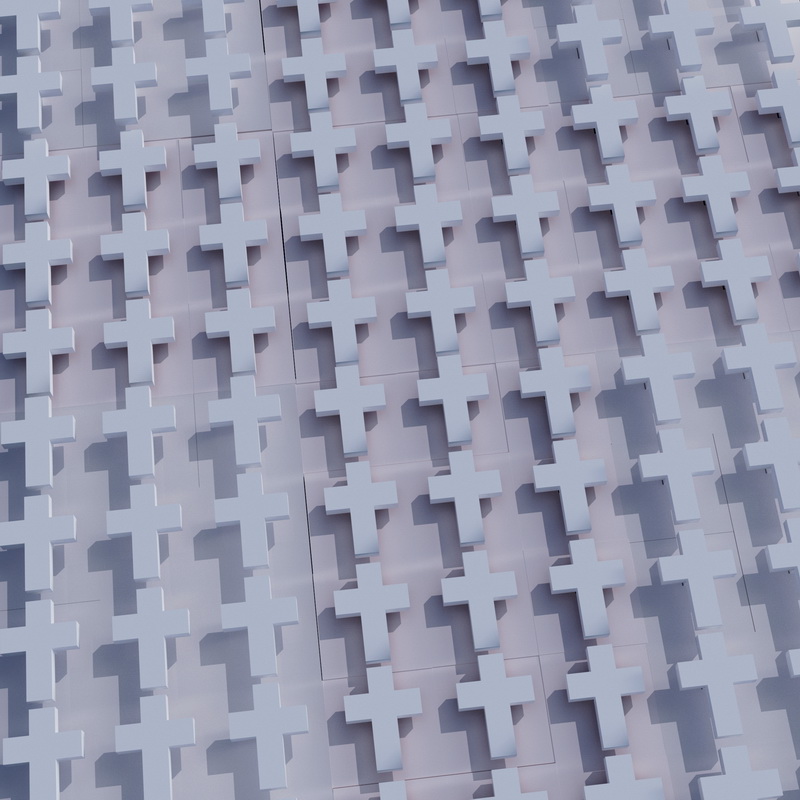 3D printing is extremely slow, hence I usually visualize (render) the future artwork using different 3D software to render the photo-realistic image or animation of the future model. This visualization results in reworking the sculpture to it's final appearance. However - the intermediate or final visualization are documenting the process and may stand as a seperate artwork, e.g. as a Nifty (NFT).
4. Prepare the model for the print
 I'd love to sent the model to available print services, but 3D prints are very expensive, hence I have to print the sculpture myself - the 3D printing part has become part of my artistic process: How can I challenge the limit of 15x15x15 cm print size of a single part by either leveraging mixed media or simply print the model in parts.
Depending on the final print an object consists of 10 up to 400 parts and additional material (e.g. up to 200 magnets).
5. Prepare the print (slicing)
Printing of the 3D model requires a software, that can 'slice' the object. The 'Slicer'-Software creates a file with detailed print commands. Finally, the file with instructions will be sent to the printer, where the object will be printed ... layer by layer.
The largest sculpture consume a 140+ hour print time until finalized.
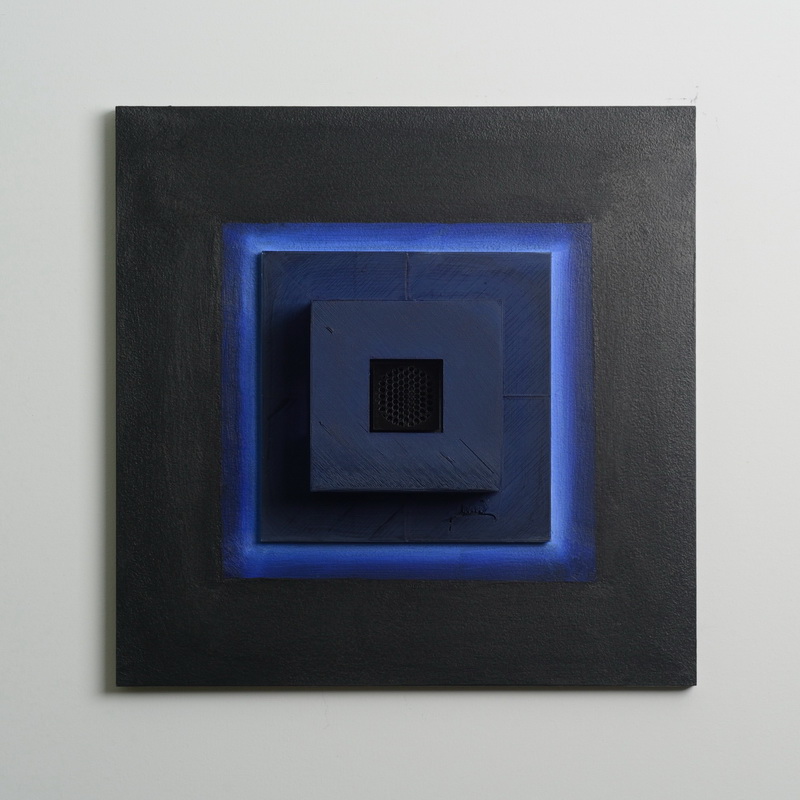 6. Finish the sculpture
Once the object has been printed, the final step is the finish. It may be mounting, framing or also use different techniques to change the appearance of the surface, respectively create a mixed media piece with acrylic or additional material, such as iron bars.
I love to work in artseries - a single print in variants - usually a batch of 3. However - not seldom, I 'reuse' earlier works to re-invent and recreate variants of it. As in pop-art working in series and variants or in completly new media (e.g. Origami) by reusing the digital twin is simply part of digital art.
7. Alternative results
The digital twin is perfect to create early visualization - often called 'Renders'. While this has been part of my workflow, I started to leverage the digital twin to a next level, where I put the sculpture in a new virtual context, may it be virtual art galleries and since 2021 as well creating NFT on the blockchain.
8. Present/Document
9. Promoting & selling my art
For any feedback or inquires you may contact me through the feedback form.
